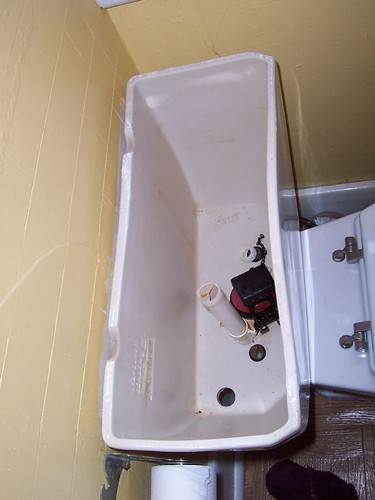
 In between all the thunderstorms I was finally able to upload the rest of the toilet fill valve replacement photos. So where did we leave off? Oh yes, we had removed the noisy valve which freed up some room to attach the tank with some Bar keepers Friend.
 It looks great now, almost like new. Hopefully it will stay this clean since we now have a water system in place.
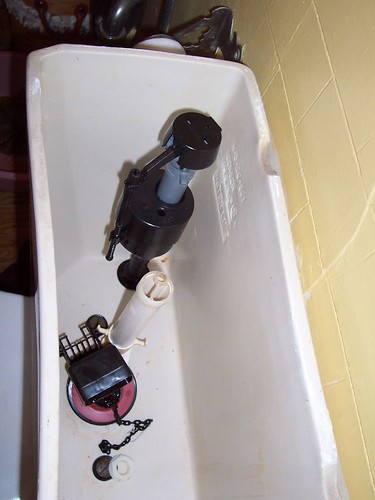
The next step was to install the new valve. It just screwed right into place and has an adjustment feature so that it will be the correct height for any size toilet. Also the float is incorporated into the valve rather than the old bulb type floating out at the end of a long arm. A few quick twists and the new fill valve was in place. The last thing to do was cut the tubing to length and attach it to the drain pipe. We had more than enough tubing. The 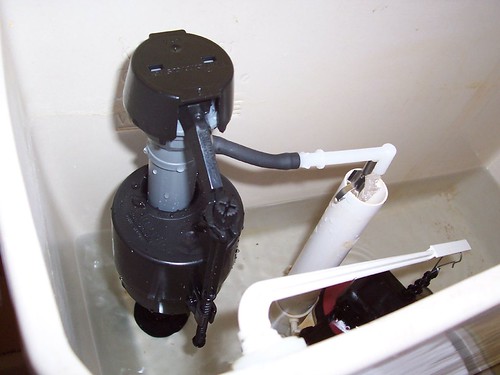 manufacturer recommended removing the valve cap and holding a coffee cup over the fill valve while turning on the water. This allows any air to escape and prevents a mini geyser from cleaning the ceiling.
manufacturer recommended removing the valve cap and holding a coffee cup over the fill valve while turning on the water. This allows any air to escape and prevents a mini geyser from cleaning the ceiling.Once everything was hooked up and the air flushed out, everything worked fine. The toilet is a lot quieter and cleaner. I bet we get another fifty years out of it!
I hope we don't have this toilet for the next 50 years!!! I want a nicer, smaller, more efficient toilet to go with the remodeled bathroom. The "truck stop toilet" HAS to go!!
ReplyDelete