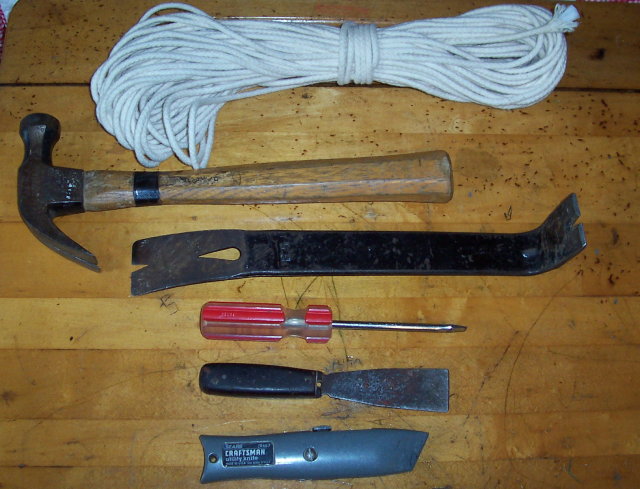
 First you will need to gather a few simple tools and some replacement cording. If you're real cheap and don't have any spare cording around you could shorten up the clothesline and use it also. Some windows use a metal chain instead of cotton cording. I also used a screwdriver (flat head to corespond with the old screws), a putty knife and a utility knife. A hammer and prybar may be necessary.
 First step is to GENTLY pry off the window stops. These are the trim strips that hold the sash in the window. Be careful since any dings or dents will be visible and will need to be reapired. Once the stops are off, carefully remove the sash. The cords may be cut before pulling the sash out but mine were already severed thus prompting the repair. Then with the sash out remove any of the old cording from the sides of the sash.
 Find the screw (if any) which holds the wall access panel in the window frame. After removing the screw carefully pry the panel loose. Any dings or chips here may effect how smooth the window glides in its track.
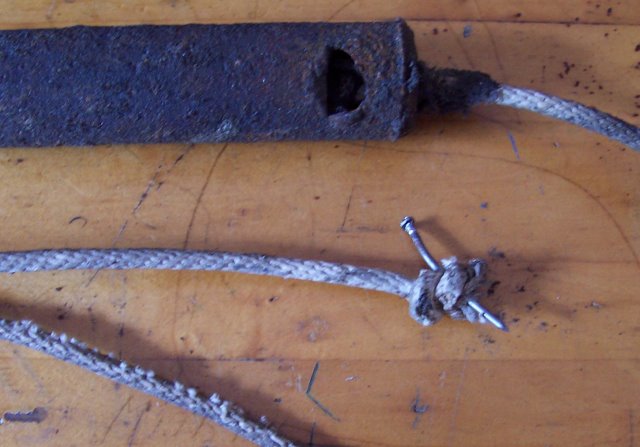 Pull the sash weight out of the wall cavity and remove the cord from the weight. Also remove the cord from the sash, sometimes they are secured with a nail as well. This was the hardest part of the whole operation - removing this huge nail. I would suggest using a smaller size nail.
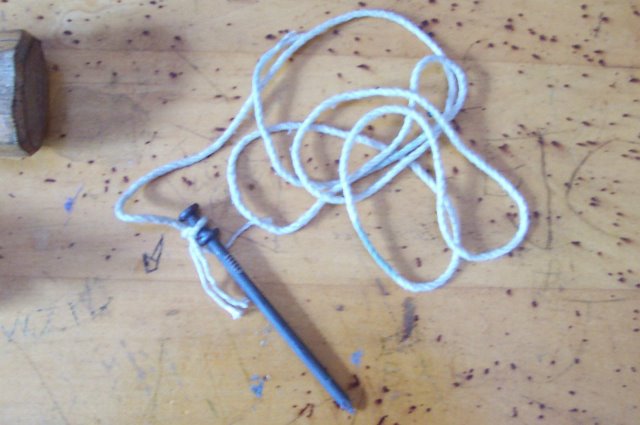 All that's left is to reverse the process installing the new cord.
Insider Tip: Use a sixteen penny nail with string to fish the sash cord over the pulley and through the wall cavity, like fishing electrical wires through a wall.
After pulling the new cord through the pulley, fish it through the weight and knot it large enough to prevent the weight from slipping off. Place the weight into the wall and draw up the slack. Replace the cover and screw to hold it. Next, cut the cord to length. This may take some trial and error to get the length right. Better to be too long and shorten than restring because the cord was cut too short. The window should open all the way before the weight hits bottom. Once the window is properly installed, replace the stops being careful to use the same nail holes.
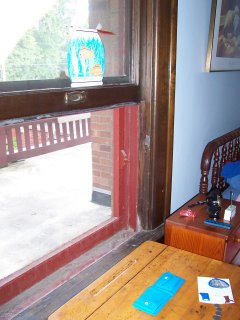 Here's the finished window. Still in need of a paint job and refinish but at least it stays open! One final tip: rub wax (candle, canning, etc) on the window tracks for smooth operation and less noise.
 Here's the finished window. Still in need of a paint job and refinish but at least it stays open! One final tip: rub wax (candle, canning, etc) on the window tracks for smooth operation and less noise.
Total project cost: $0
Total time including setup, cleanup and blog photos: one hour
Total time including setup, cleanup and blog photos: one hour
One thing about the wall access panel in the window frame. These panels aren't all constructed the same as yours. It took me days to figure out why I couldn't get mine out. It had no nails or screws but just wouldn't budge more than a centimetre at the bottom. I'd post a pic of mine if I could. In the end, I had to pull out the centre stop, using a pair of pliers. As soon as I'd pulled the stop away at the bottom, the access panel popped out easily.
ReplyDelete